BOAT DEK DOME-IN INSTALLATION
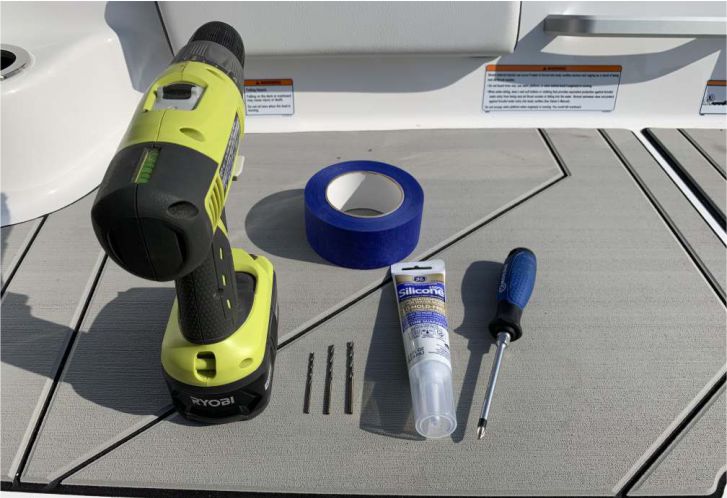
Tools Needed:
Electric drill with 1/16" or 7/64" and 1/8' drill bits
Phillips screwdriver
Silicone marine sealer
Masking tape
Snap studs and nylon washers
We Recommend
We recommend doing each dome one at a time to make sure you maintain perfect alignment without wrinkles or humps
1. Preparation
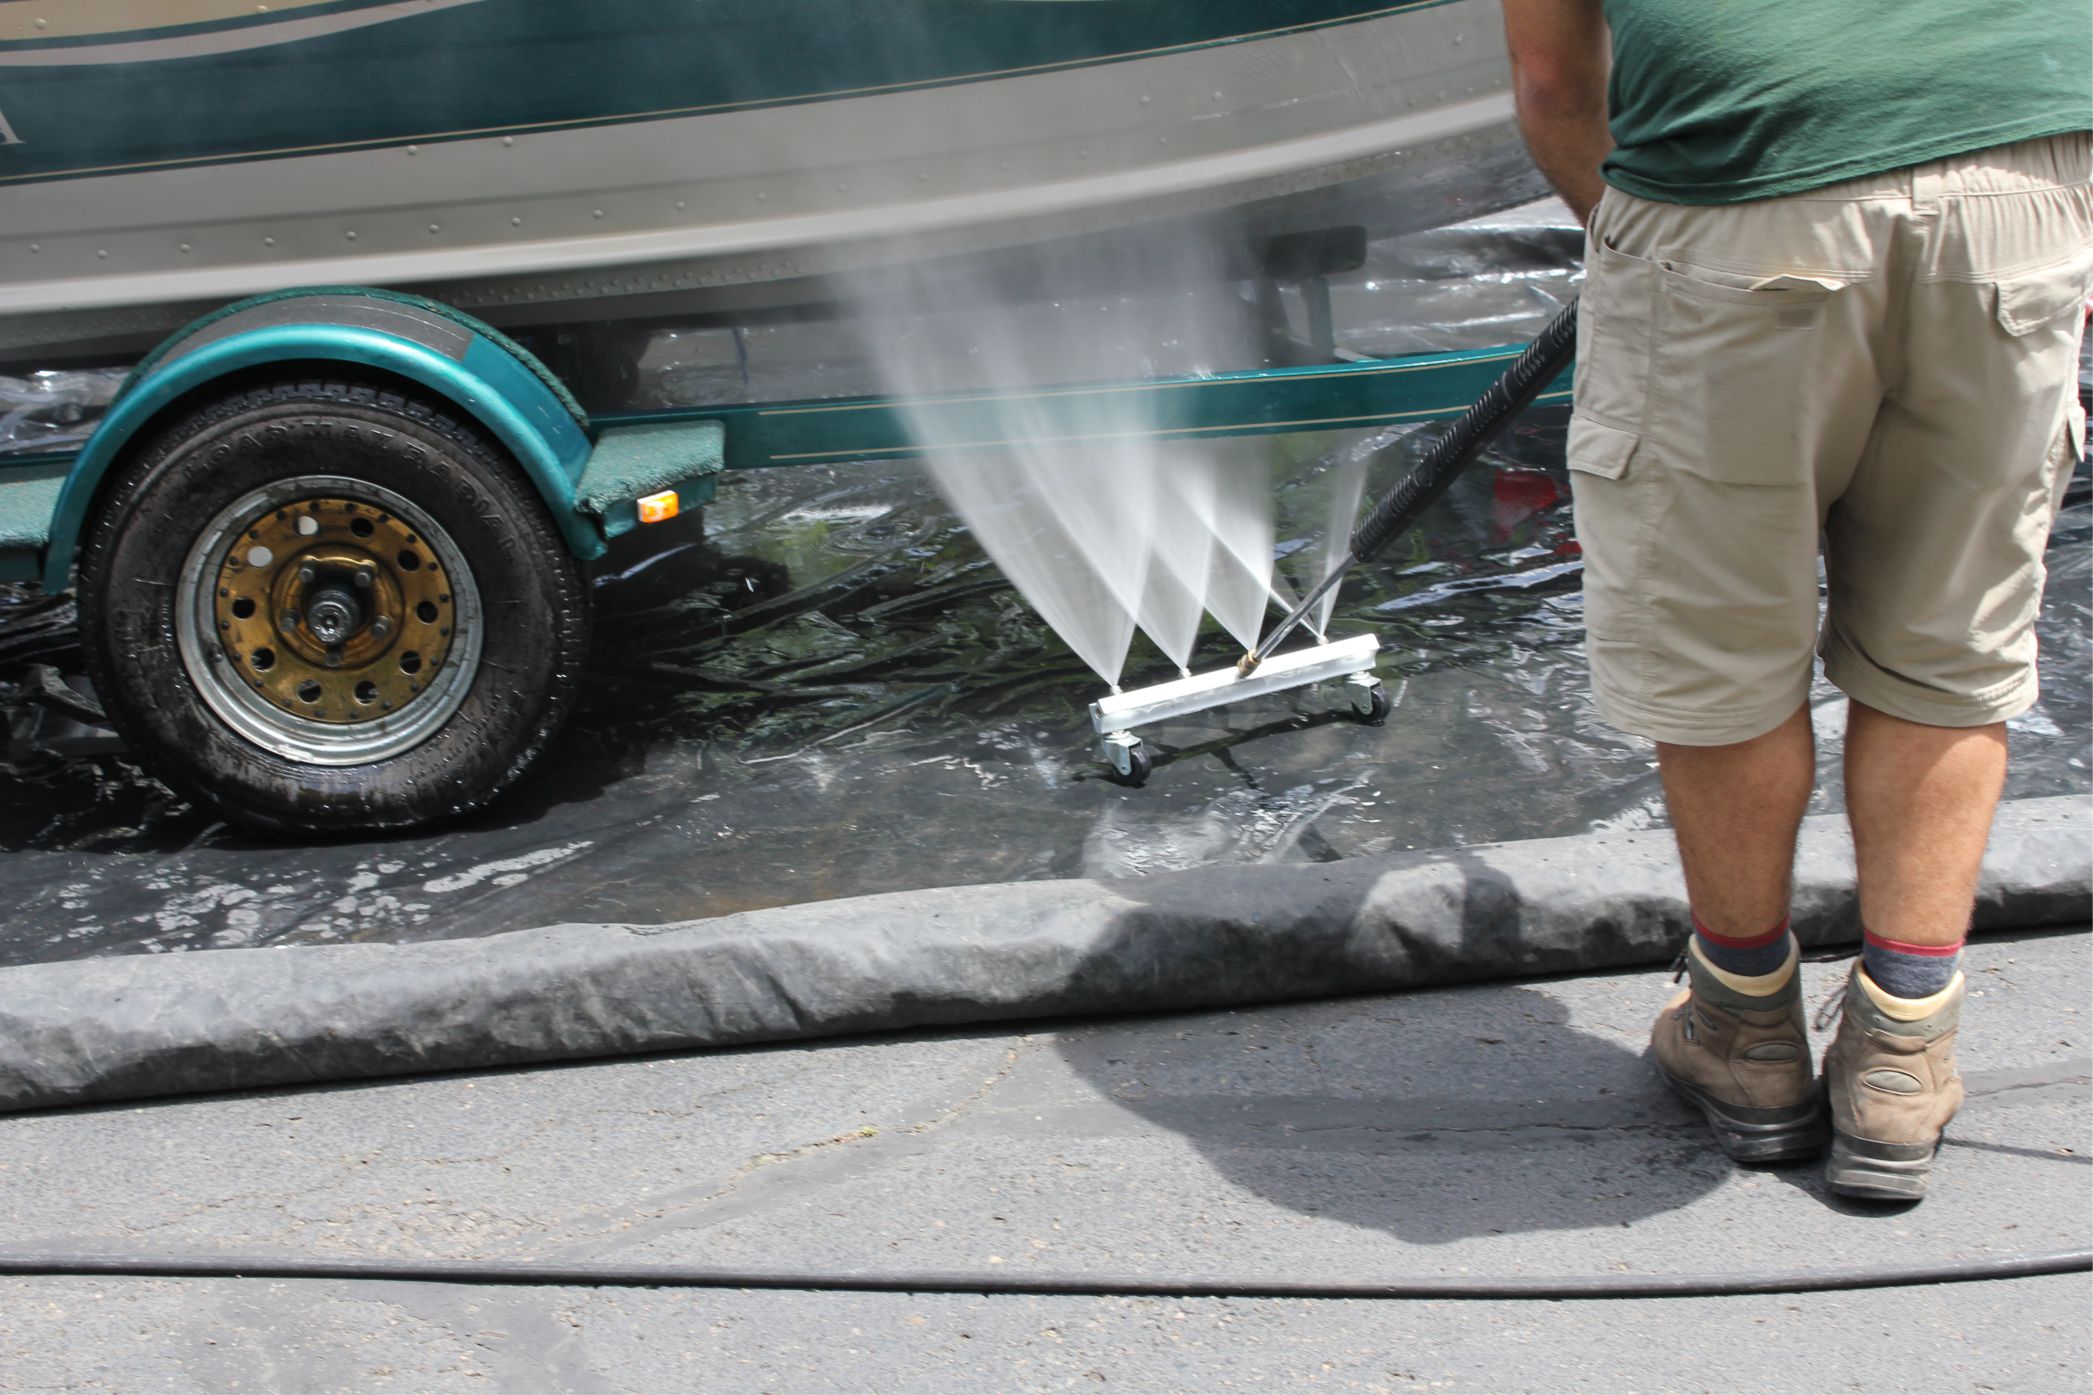
Wash and dry the boat thoroughly
Open package, remove and inspect the Boat Dek. Lay all mats on a flat surface to relax and flatten out after being packaged. Make sure there are no missing pieces.
2. Place & Align
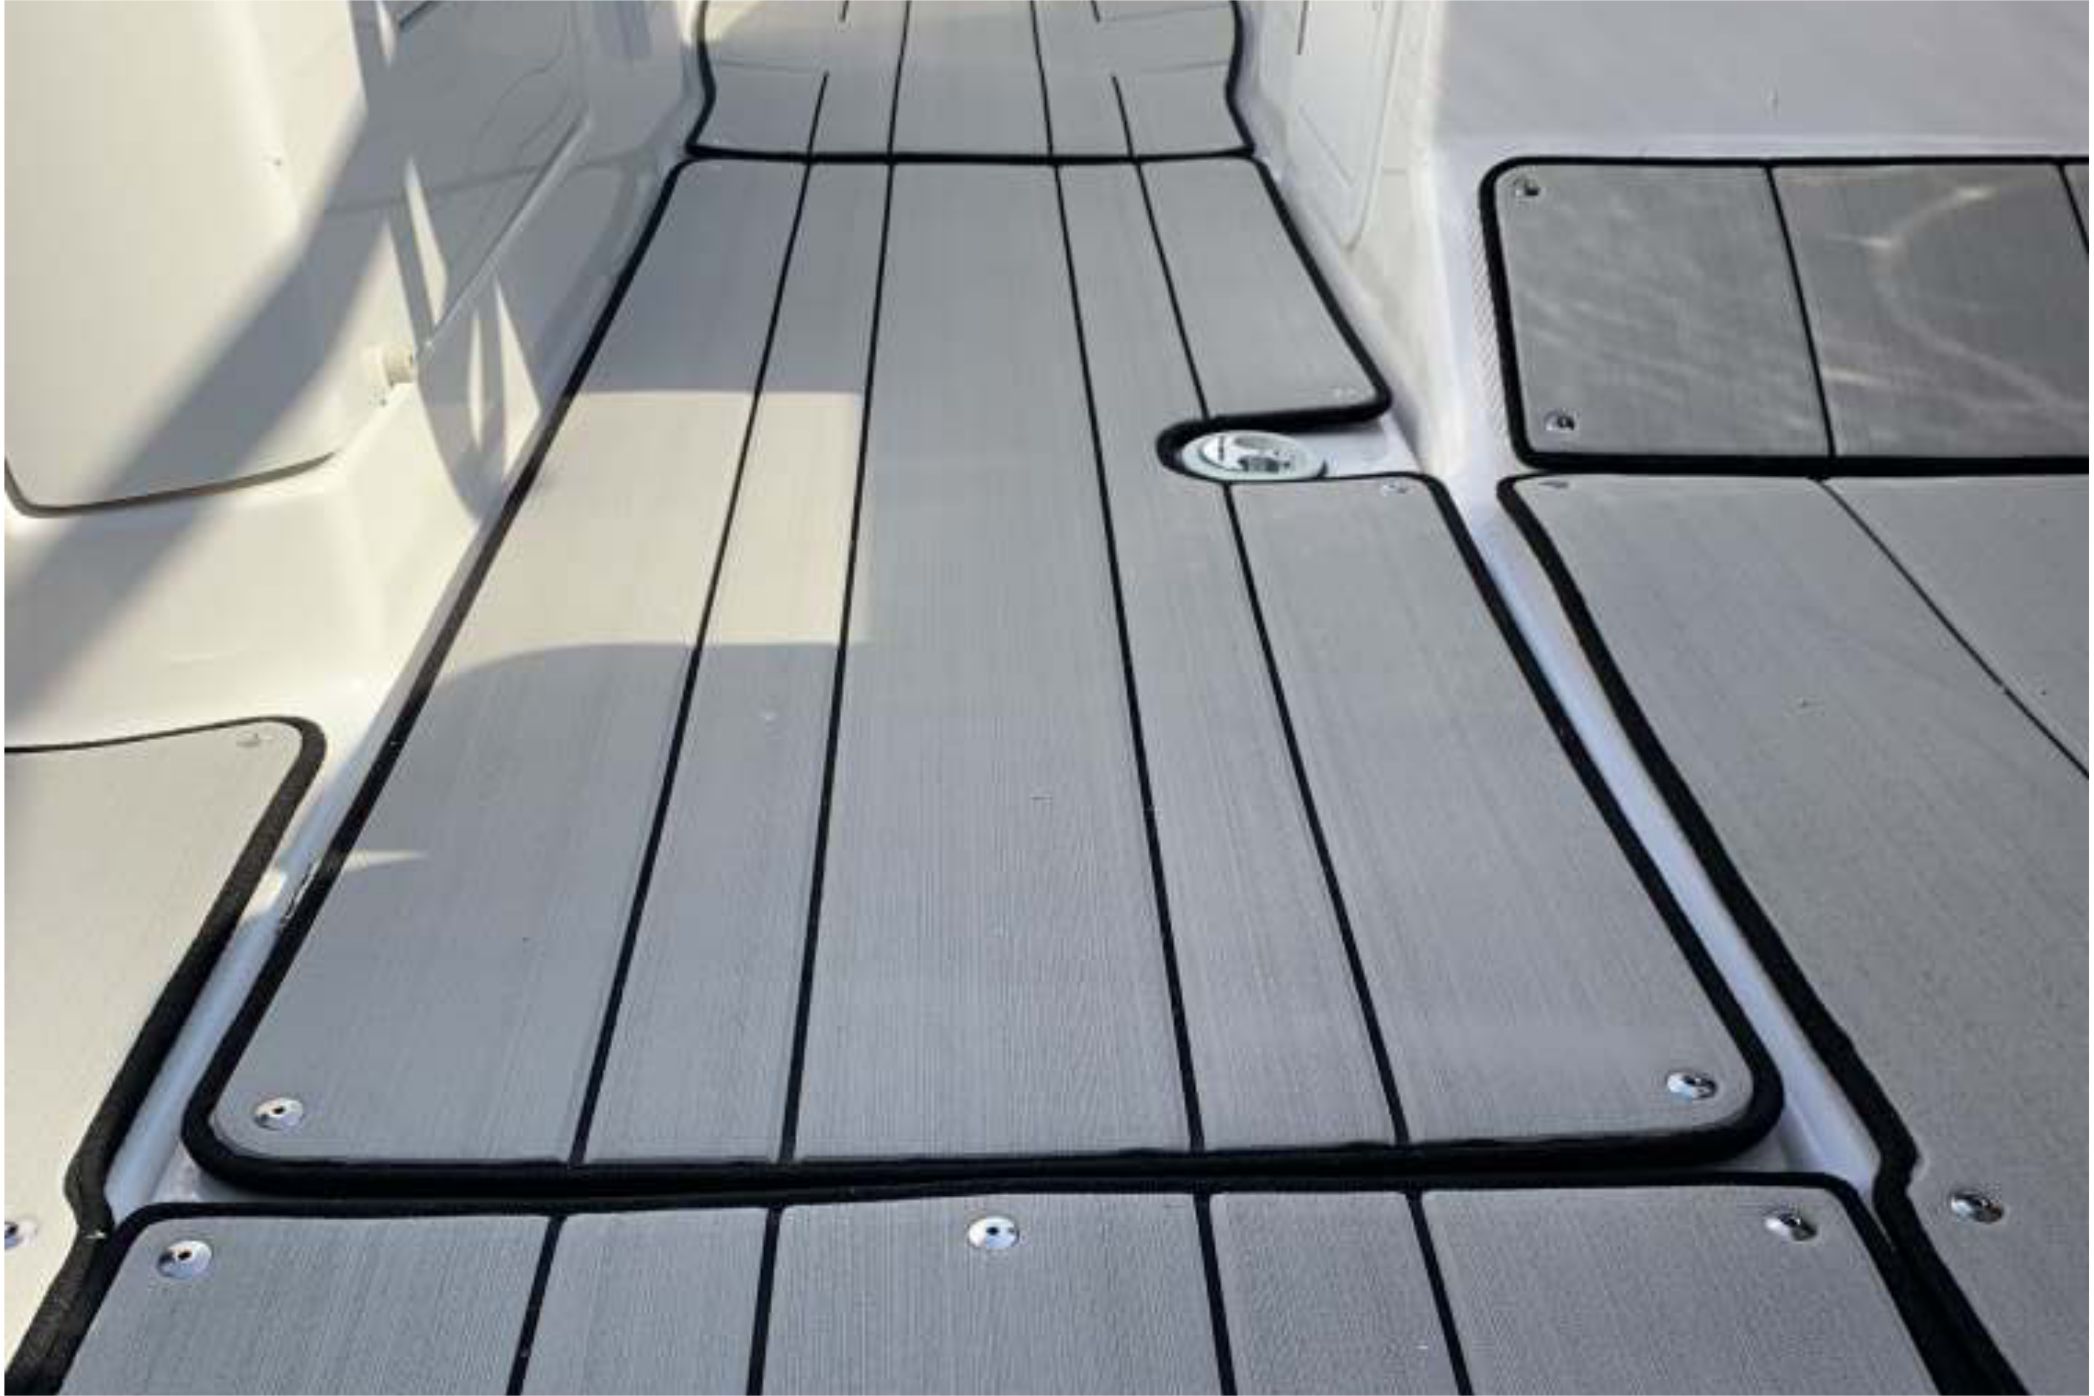
Lay all the mats in the proper location on the cockpit floor. Take care to align all the edges and the pattern lines foe one continuous look.
3. Tape Down
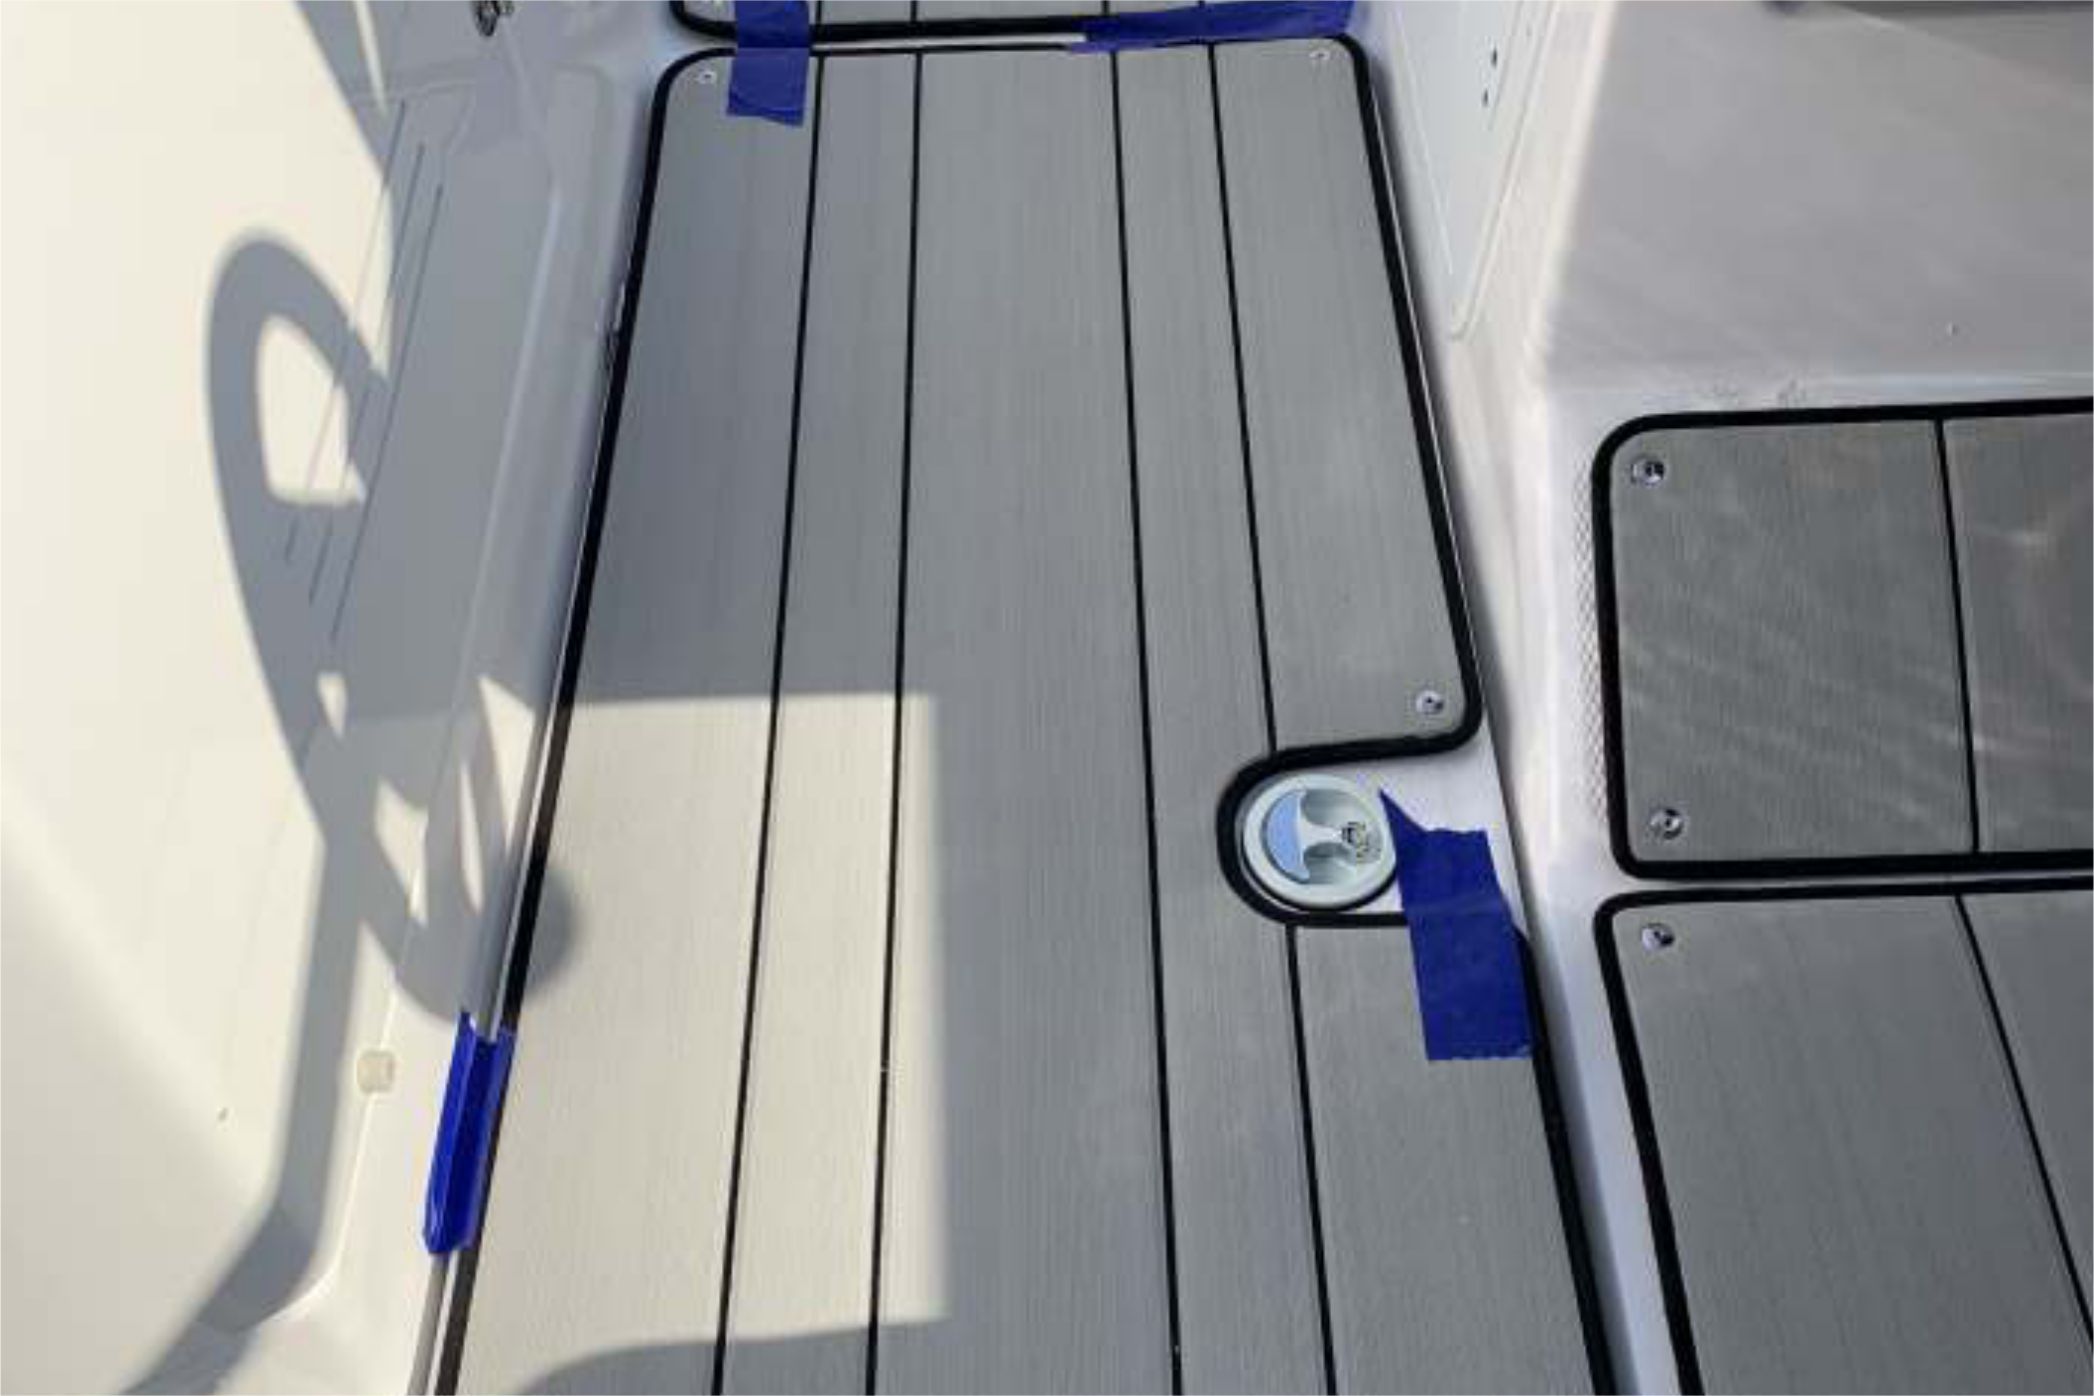
Using the masking tape, tape all the pieces into place to temporarily hold them while installing the studs into the deck of the boat
4. First Drill
Your new Boat Dek Dome-In series mats utilizes a unique drill guide snap cap. These snaps have a pilot or guide hole to allow for perfect alignment every time. Working from the front of the boat to the rear, use the 1/16" or 7/64" drill bit. Drill your first pilot hole through the snap itself into the deck of the boat.
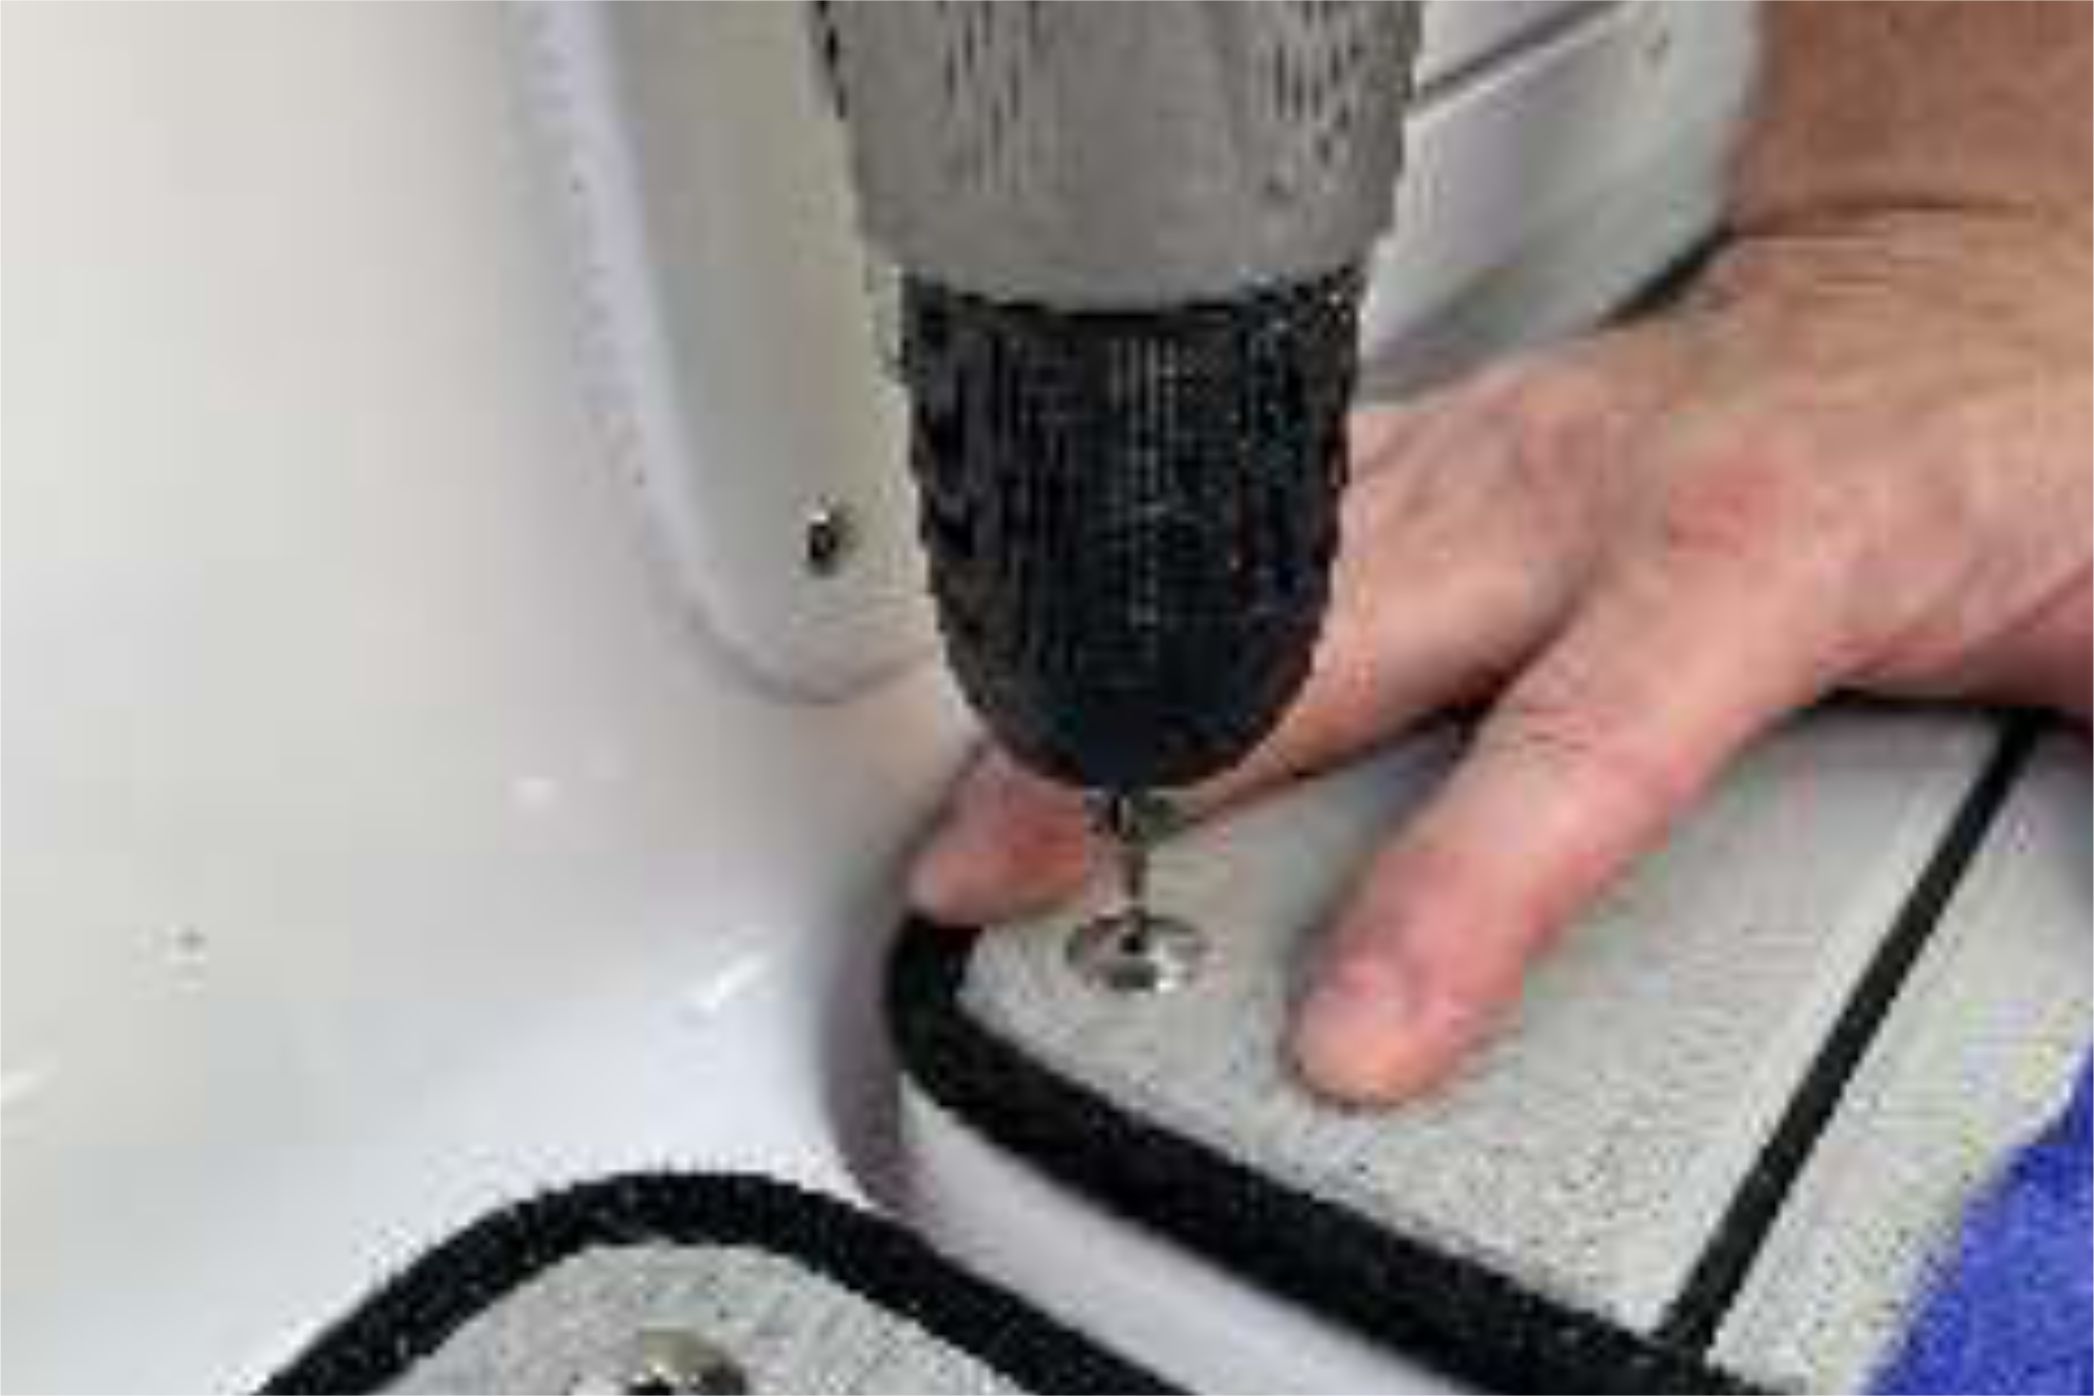
5. Second Drill
Lift the corner or edge of the Boat Dek and drill the final hole for the stud with the 1/8" drill bit.

6. Sealant
Apply a small amount of sealer to the hole

7. Tighten
Using the screwdriver, tighten the snap stud through the washer the washer in the hole and snap the mat in.

8. Repeat
Repeat steps 4-7 for all remaining domes being careful to make sure the Boat Dek stay aligned and are laying flat before drilling each hole.

